Rocketbook Beacons
I have been so excited about these arriving… It has been a long wait – delays in the production process meant the original ship date got put back several months. Always happens with tech products, and I was happy they were getting it right.
Firstly, what are Rocketbook Beacons?
So the idea is, you put these little triangles in the corners of your flipcharts/whiteboards/blackboards and they act as anchor points for their app to scan the content. It blocks out shadows/backgrounds/enhances the text that you would get with a camera picture and “flattens” the image for use in presentations or websites. This then gets delivered to email/DropBox/cloud storage etc.
For me, we often do sessions with clients where it’s handy to have a record of the ideas we’ve thrown up on whiteboards or to capture screens when I’m presenting. So I got two lots – one for my presenting bag and one for everyday use.
Rocketbook have a great reputation based on their “Rocketbook Notebooks” which do a similar thing for pencil notes…
How did it go? Testing my Rocketbook Beacons
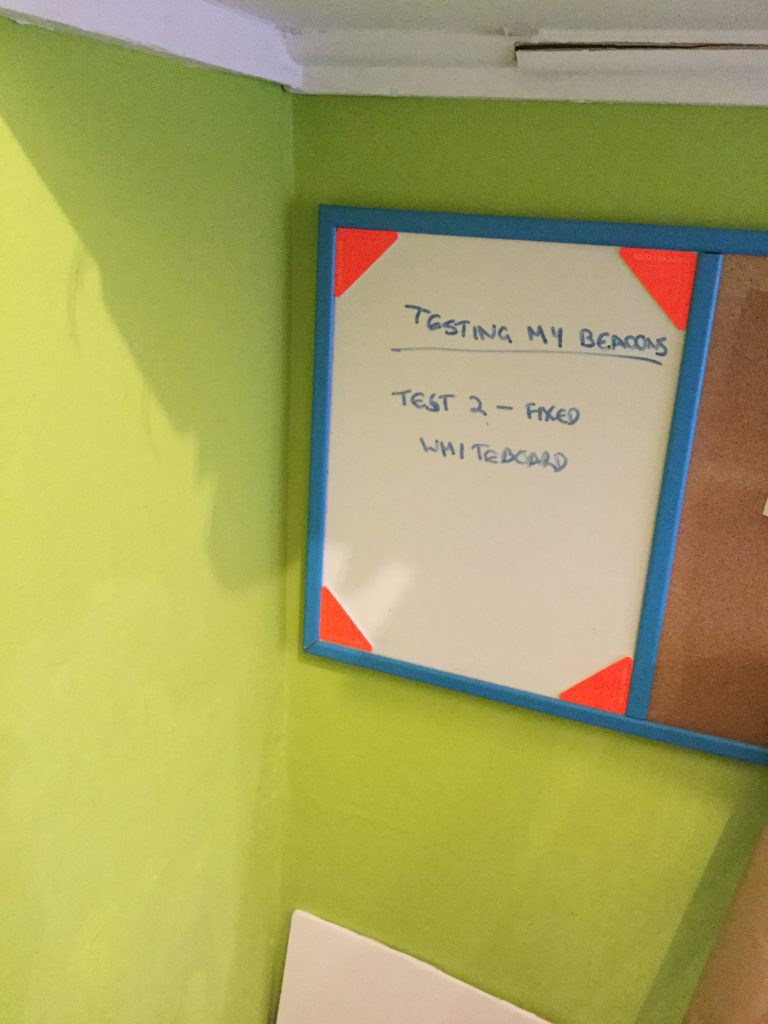
I hit a snag: Also in my presenting bag is the emergency whiteboard sheets that I use with most clients – these cling via static to the wall. Except, I put the Rocketbook beacons on them and the weight was too much and it fell off the wall. I’ve used these sheets all over the place, I never have an issue with them falling off the wall – until now!
In fairness, this wouldn’t be an issue on a proper whiteboard, so I’m willing to forgive the Rocketbook Beacons for this.
OOPS!

So I positioned the Rocketbook Beacons on the wall itself, having been assured by the instructions that they would not leave a mark. Except they didn’t really stick either:
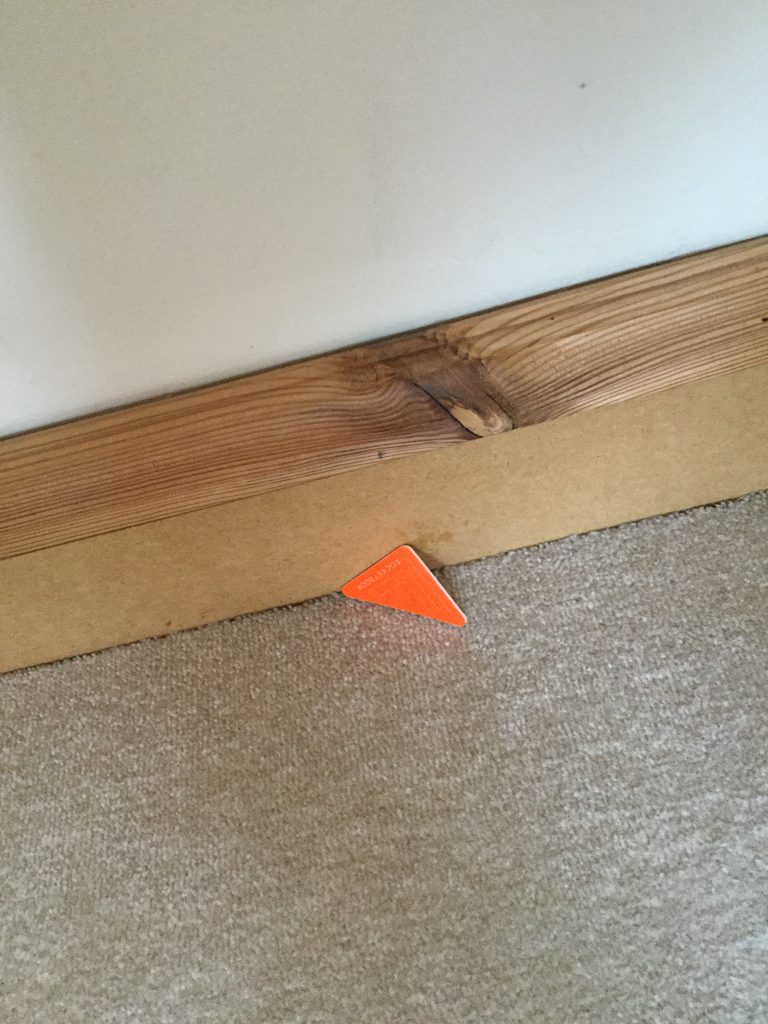
Cleaning them off did mean they stuck for long enough to get a scan done – but I’m just not sure I’d be wanting to scramble about on the floor for lost Rocketbook Beacons in high heels and a little black dress whilst presenting!
Saving grace: The process is super easy. Full marks for that. You download the app and it basically does all the fancy editing stuff for you.
The scans themselves come through as PDFs, it might be preferable to have a choice of formats, such as JPG or PNG if people are using these on websites/in presentations. I’d imagine this is an easy fix for the developers and something we may see in future app updates?
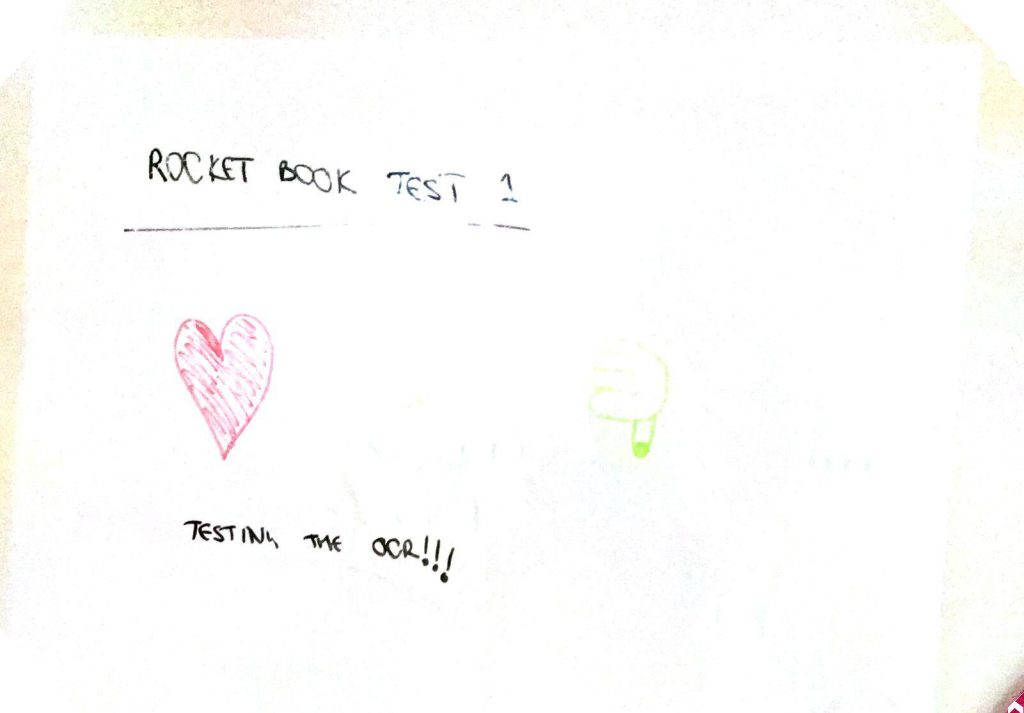
Colours didn’t come out especially strongly, you can’t see the green text on this at all…
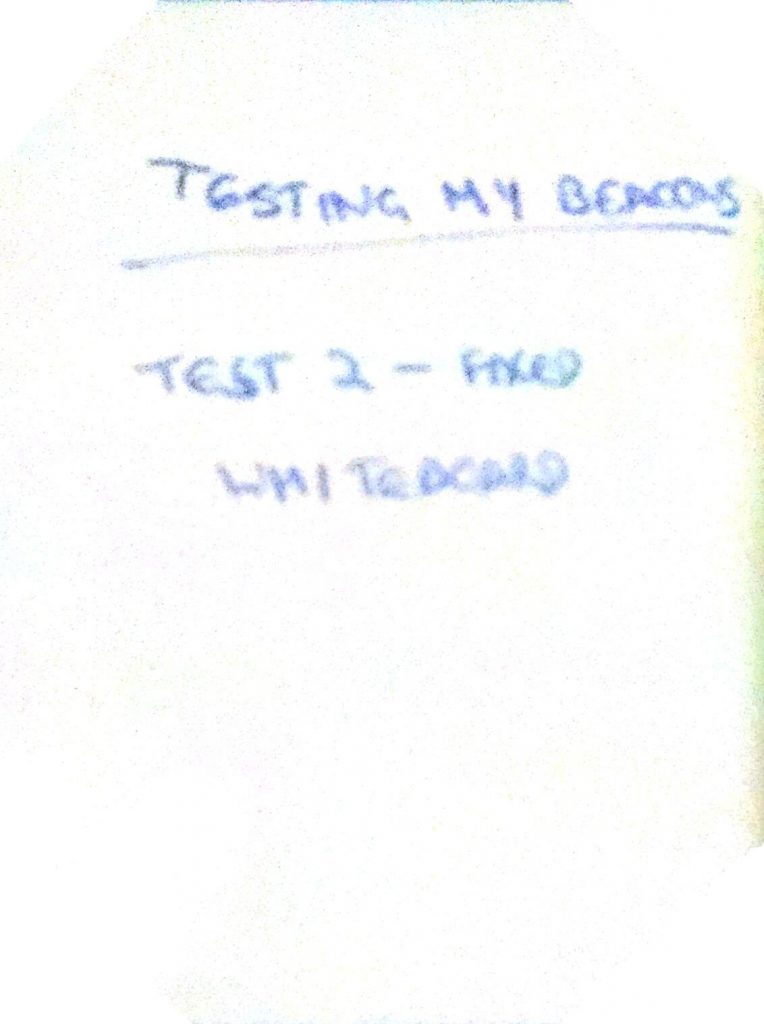
Back downstairs, I tried it on a fixed whiteboard, which admittedly has a couple of shadows on it, so not the easiest lighting to try it out on – very disappointing result with blurry image:
All in all: Interesting product to try out, I can see where the development team will be easily able to improve things from this first prototype. Would I recommend these to other people right now? No. Which is a shame, because it’s a great idea.
I have their notebook and love how that works, but the colors are not as vibrant either. My pretty purple pen looks nearly black on the pdf and jpeg.
when using the actual notebook you can opted for jpeg or pdf.